
Koyo Drawn Cup Press-In Depth & Tooling Wholesale Supplier
Harder pressing does not ensure better seating; it crushes the thin outer ring.
Correct installation of Koyo drawn cup needle bearings requires precise control of press-in depth relative to the housing shoulder and the use of matched tooling with specific diameter clearance ratios. Excessive force or misaligned rods cause immediate structural deformation of the thin-wall outer ring, leading to premature cage damage and rotational failure. The core solution lies in calculating the exact stop position based on housing dimensions and selecting assembly tools that distribute load evenly across the bearing face without contacting the rolling elements.
Having spent years on the front lines of industrial supply, I have seen how easily these components are compromised during assembly. A common misconception among MRO operators is that standard steel rods are sufficient for pressing these bearings into place. In reality, mismatched tooling creates micro-cracks in the raceway that are invisible to the naked eye but fatal to performance. This guide breaks down the technical requirements for safe assembly, drawing from field observations and international mounting standards.
Why Do Koyo Drawn Cup Bearings Deform During Pressing?
The thin-wall design of drawn cup bearings makes them structurally vulnerable to uneven radial forces.
Unlike solid outer ring bearings, drawn cup needle bearings feature a stamped steel shell that is significantly thinner. This design allows for compact housing solutions and high load capacity relative to size, but it sacrifices rigidity during the installation phase. When a press fit is applied, the housing expands slightly, and the bearing outer ring must conform to this new diameter. If the force is applied too rapidly or through an uneven surface, the thin wall buckles rather than expanding uniformly.
In one instance, a European OEM reported a noticeable percentage of scrapped bearings during their initial assembly line setup. The issue was not the bearing quality but the press operator’s technique. The team assumed that higher hydraulic pressure would ensure the bearing seated fully against the shoulder. Instead, the excessive force caused the outer ring to ovalize, locking the needle rollers and preventing rotation. Once we adjusted the press parameters to limit peak force and introduced a guided mandrel, the rejection rate dropped noticeably.
The deformation often occurs because the tooling does not cover the entire bearing face. If the press rod is smaller than the bearing’s outer diameter, the edge of the cup bends inward. This creates a lip that interferes with the housing bore, generating heat and wear during operation. Understanding this mechanical behavior is critical for anyone specifying or installing these components.
For distributors and wholesalers supplying these parts, providing technical datasheets that highlight these vulnerabilities can prevent costly returns. It is not enough to sell the part; ensuring the customer has the right installation context protects the integrity of the supply chain. As a Koyo drawn cup bearing installation specialist, emphasizing the fragility of the thin wall helps end-users avoid basic assembly errors.
How to Calculate the Correct Press-In Depth?
Depth must align precisely with housing shoulder dimensions to ensure proper load distribution and axial location.
Determining the correct press-in depth is not a matter of visual estimation. It requires measuring the housing bore depth and subtracting the bearing width to find the exact stop position. If the bearing is pressed too deep, it may interfere with internal components such as seals or snap rings. If it is not pressed deep enough, the axial load will not be transferred correctly to the housing shoulder, leading to fretting corrosion and eventual loosening.
A mining MRO client once faced repeated failures in a conveyor drum application. The maintenance team was using a simple depth gauge but failed to account for the chamfer on the housing bore. The bearing was stopping short of the shoulder by a small margin, causing it to shift under heavy load. By recalculating the target depth to include the chamfer allowance and setting a mechanical stop on the press, they eliminated the axial movement.
To calculate the correct depth:
- Measure the total depth of the housing bore from the entry face to the internal shoulder.
- Subtract the width of the Koyo drawn cup bearing.
- Account for any housing chamfers or radii that might prevent full face contact.
- Set the press tool stop to this calculated value.
This method ensures that the bearing sits flush against the shoulder, providing a stable reference for axial loads. For wholesale suppliers, including these calculation steps in product documentation adds significant value for technical buyers who need to train their own assembly teams. Proper depth control is a fundamental aspect of successful Koyo drawn cup bearing installation.
What Tooling Specifications Prevent Assembly Damage?
Tooling diameter and guide chamfers must strictly match bearing outer diameters to distribute force evenly.
Using generic rods or punches is a primary cause of installation failure. The ideal assembly tool should have a diameter that matches the bearing’s outer ring closely, typically within a tight tolerance range. This ensures that the pressing force is applied uniformly across the entire face of the bearing. Additionally, the tool should feature a guide chamfer that aligns with the bearing’s entry angle, helping to center the component before full pressure is applied.
In an automotive repair scenario, a workshop reused worn tooling that had developed a slight burr on the edge. This imperfection dug into the soft steel of the drawn cup, causing local deformation and damaging the cage inside. The result was immediate noise and vibration upon startup. Replacing the worn tool with a precision-machined mandrel resolved the issue instantly.
Key tooling specifications include:
- Diameter Match: The tool face should be slightly smaller than the housing bore but large enough to cover the majority of the bearing’s outer ring area.
- Guide Chamfer: A tapered lead-in helps align the bearing and prevents tilting during the initial press stage.
- Surface Finish: The tool face must be smooth and free of burrs to avoid marking the bearing surface.
- Material Hardness: The tool should be harder than the bearing material to prevent deformation of the tool itself, which could transfer irregularities to the bearing.
For those sourcing in bulk, offering compatible tooling kits alongside Koyo drawn cup bearings can reduce installation errors. Many MRO operators lack specialized tools and resort to improvised methods that compromise bearing life. Providing the right hardware supports correct Koyo drawn cup bearing installation practices.
How to Verify Installation Quality On-Site?
Use go/no-go gauges and rotational torque checks to validate seating and freedom of movement.
After pressing the bearing into the housing, it is essential to verify that it is seated correctly and rotates freely. Visual inspection alone is insufficient, as internal damage may not be visible. A go/no-go gauge can confirm that the bearing face is at the correct depth relative to the housing shoulder. Additionally, checking the rotational torque ensures that the needles are not bound by deformation or misalignment.
A wind farm operator implemented a simple torque check protocol after experiencing intermittent failures in gearbox assemblies. Technicians used a handheld torque wrench to rotate the inner ring after installation. Any bearing requiring excessive force to turn was flagged for removal and inspection. This simple step caught several units where the outer ring had been subtly distorted during pressing, preventing potential downstream failures.
Verification steps include:
- Depth Check: Use a depth micrometer or go/no-go gauge to confirm the bearing face is flush with the intended stop position.
- Rotational Check: Rotate the inner ring by hand or with a torque tool. It should move smoothly without binding or gritty feelings.
- Visual Inspection: Check for any visible dents or marks on the exposed portion of the outer ring.
- Clearance Check: Ensure there is no interference with adjacent components such as seals or spacers.
These checks provide immediate feedback on the quality of the installation. For distributors, recommending these verification methods helps customers maintain high reliability standards. Proper verification is the final critical step in effective Koyo drawn cup bearing installation.
Conclusion
Precise press-in depth and matched tooling are non-negotiable for preserving the structural integrity of thin-wall bearings.
Successful assembly of Koyo drawn cup needle bearings depends on respecting the limitations of their thin-wall design. By controlling press force, calculating exact depth, and using purpose-built tooling, operators can prevent deformation and ensure long service life. Verification through torque checks and depth gauges confirms that the installation meets technical standards. These practices transform a potentially fragile component into a reliable element of industrial machinery.
Mentioned in this article
Koyo / JTEKT bearings from this guide
These are the Koyo / JTEKT bearing types discussed above. Open any product to check its details, or quote it together with the rest of your repair.
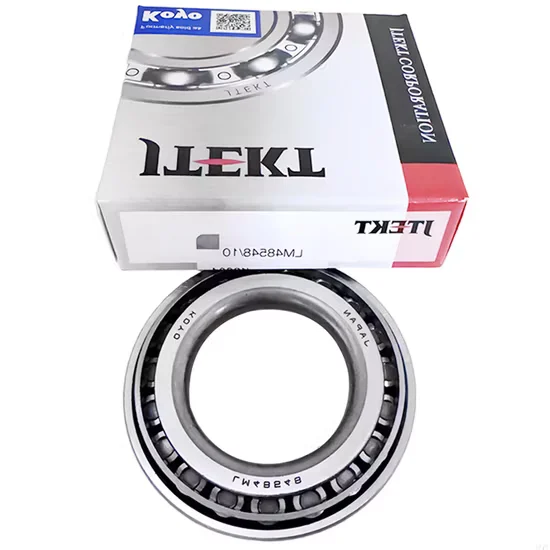
Tapered Roller Bearings
Genuine KOYO 32007 Tapered Roller Bearing Wholesale Supplier
View Product
Tapered Roller Bearings
Genuine KOYO 32006 Taper Roller Bearing Wholesale Supplier
View Product
Cylindrical Roller Bearings
Koyo NSK N408e Cylindrical Roller Bearing Genuine Wholesale Supplier
View Product
Cylindrical Roller Bearings
Koyo N2305e Cylindrical Roller Bearing Genuine Wholesale Supplier
View ProductKeep reading
More bearing selection guides for repair shops
Practical guides from KOYO Bearing Supplier on identifying Koyo / JTEKT bearings for farm machinery, construction equipment and power transmission repairs.
 Installation & Maintenance
· 6 min read
Auto Bearing Jobs Workshop Checklist: Wholesale Supplier
Prevent premature auto bearing failure with a standardized auto bearing installation checklist that addresses critical storage, inspection, and mounting protocols. Verify rotational smoothness, maintain…
Read the Guide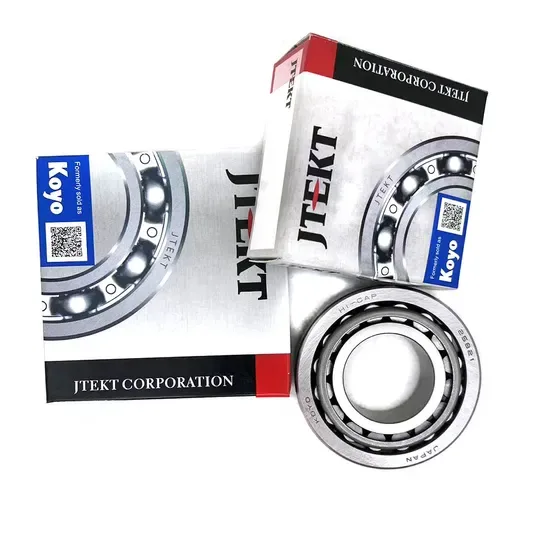 Installation & Maintenance
· 7 min read
Genuine Bearing Supplier for Garage Tools: Wholesale Bulk & MRO
Prevent premature failures with the right garage tools for bearing jobs by addressing installation errors rather than manufacturing defects. Learn systematic removal and pressing…
Read the Guide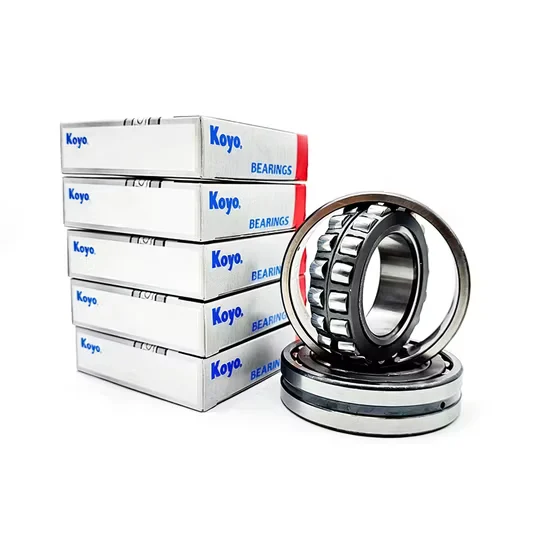 Installation & Maintenance
· 8 min read
Transmission Bearing Noise Diagnosis: Genuine Wholesale Supplier
Master transmission bearing noise diagnosis to distinguish installation errors from clearance defects in harsh environments. Use ultrasonic detection and spectral analysis to identify root…
Read the Guide
Bearing enquiry
Send your machine details. Get a written Koyo / JTEKT quote.
KOYO Bearing Supplier quotes a single bearing position or every bearing in an assembly on one enquiry, matched to your machine model and application, with model, quantity, price, lead time and quote validity in writing.
- WhatsApp+1 (702) 981-5880
- Emailinfo@koyoome.com
- Address8 Research Drive, Greenville, SC 20627, USA
"When a Koyo bearing failed on a harvest machine during the season, we needed a replacement urgently. The supplier identified the correct Koyo reference, shipped same-day, and the machine was back in the field within the day."

Request a Bearing Quote
Tell us the machine and the bearing position. Photos of the markings can follow on WhatsApp.