
Differential Bearing Setup: Genuine Brands, Wholesale Supplier for Bulk Orders
Tighter preload does not mean better rigidity; it often means faster failure.
Precise differential bearing setup requires verifying genuine component authenticity before assembly, using dial indicators to measure exact endplay rather than relying on generic torque specs, and adjusting clearance to account for thermal expansion and housing wear. Skipping traceability checks or forcing standard preload on worn housings leads to lubrication starvation, scuffing, and catastrophic seizure within months.
I still remember the heat in a Riyadh workshop when a fleet manager pointed at a destroyed differential housing. The technician had followed the manual to the letter, applying standard preload to what looked like premium tapered roller bearings. Three months later, the metal had scorched black. The bearings were counterfeit, lacking the precise internal geometry required for proper load distribution. That incident shifted my focus from merely moving boxes to understanding the critical link between differential bearing setup integrity and part provenance. In heavy equipment and automotive MRO, the difference between a long service life and a mid-six-figure loss often lies in these microscopic adjustments and the authenticity of the components used.
Getting the setup right starts with knowing what you are installing. Many failures stem from mixed batches where cross-referencing was skipped, leading to incompatible specs in the same axle.
Why Does Differential Bearing Setup Fail?
Improper preload and non-genuine parts are responsible for the majority of early differential failures.
The assumption that all tapered roller bearings behave identically under load is a dangerous misconception. When a bearing lacks the precise internal clearance designed by the original manufacturer, standard installation procedures fail. I have seen workshops in Southeast Asia struggle with batches of bearings that looked identical to OEM parts but failed under minimal stress. The root cause was often subtle deviations in raceway geometry that only became apparent during differential bearing setup.
| Failure Mode | Root Cause | Visual Indicator |
|---|---|---|
| Scuffing | Lubrication starvation due to excessive preload | Darkened, scored raceways |
| Spalling | Fatigue from incorrect load distribution | Pitted surfaces on rollers |
| Seizure | Over-tightened clearance in worn housing | Welded metal fragments |
A European wind farm operator once reported premature gearbox issues traced back to differential assemblies. The maintenance team had used unverified replacements, assuming the torque specs would compensate for quality variations. They did not. The bearings overheated because the preload was too tight for the actual internal clearance of the non-genuine parts. This highlights why verifying authenticity is not just a procurement step but a technical necessity for successful differential bearing setup.
Without genuine parts, even the most skilled technician cannot achieve a stable setup. The material consistency and surface finish of premium brands ensure that the calculated preload translates into actual performance, not friction.
How to Measure and Set Bearing Preload?
Use dial indicators for exact endplay measurement instead of relying solely on torque wrench readings.
Preload is the heart of differential bearing setup. It determines how the bearing handles axial and radial loads. Too loose, and the gears chatter; too tight, and the oil film breaks down. The industry standard involves measuring endplay with a dial indicator, but this method requires a stable baseline. Many technicians skip the step of seating the bearings fully before measurement, leading to false readings.
- Install the outer races and ensure they are fully seated in the housing.
- Mount the dial indicator perpendicular to the gear face.
- Rotate the differential carrier several times to settle the rollers.
- Measure the axial movement while applying consistent pressure.
In a rush repair scenario at a Middle East mining site, a team over-tightened the setup clearance to eliminate perceived play. The result was immediate overheating. They had ignored the thermal expansion compensation required for heavy-load operations. Proper differential bearing setup demands patience and precision, not force.
Torque wrenches are useful for initial tightening, but they do not account for friction variations in new versus worn components. Direct measurement of endplay provides the only reliable data for final adjustment.
What Are the Critical Installation Steps?
Cleanliness, proper seating, and sequential torque tightening are non-negotiable for longevity.
The environment in which differential bearing setup occurs is as important as the tools used. A single particle of dust can alter the effective clearance and create a hotspot. I always advise workshops to treat the assembly area like a clean room, especially when handling high-precision tapered rollers.
- Cleanliness: Wipe all housing surfaces with lint-free cloths. Inspect races for micro-scratches.
- Seating: Tap the outer races gently to ensure they are flush against the housing shoulders.
- Torque Sequence: Tighten bolts in a star pattern to avoid distorting the housing.
A regional distributor once faced returns from multiple clients who reported noise after installation. Investigation revealed that the housings were not cleaned properly before assembly, and the bolts were tightened sequentially in a circle rather than a star pattern. This distorted the housing, changing the effective clearance and ruining the differential bearing setup.
Skipping these steps might save minutes during installation, but it costs hours in rework. The goal is to create a stable environment where the bearing can perform as designed, without external interference from debris or distortion.
How to Verify Bearing Authenticity Before Setup?
Check traceability documentation and packaging details to avoid counterfeit-induced scuffing.
Before any tool touches the bearing, verify its origin. Counterfeit bearings often lack the batch codes and material certifications that genuine products carry. In my experience, mixing brands in a single order requires careful cross-referencing to ensure all tapered rollers meet the same specification standards. This is where having a supplier who provides full traceability becomes critical.
When sourcing for mixed-batch orders, I insist on seeing the original mill certificates. A client in Latin America once received a shipment where half the bearings were from a reputable brand and the other half were unbranded copies. The visual differences were minimal, but the performance gap was massive. By verifying the documentation before differential bearing setup, they avoided a potential fleet-wide failure.
Authenticity verification is not just about avoiding fakes; it is about ensuring consistency. When every bearing in a batch comes from a verified source, the differential bearing setup process becomes predictable and reliable. This reduces the risk of unexpected variations that can compromise the entire assembly.
Conclusion
Precision and authenticity define successful differential assembly.
Mastering differential bearing setup requires more than just following a manual; it demands a deep understanding of how genuine components interact with precise measurements. By prioritizing traceability, using accurate measurement tools, and adhering to strict installation protocols, operators can prevent premature failures and ensure long-term reliability. The cost of verification is negligible compared to the expense of a seized differential.
Mentioned in this article
Koyo / JTEKT bearings from this guide
These are the Koyo / JTEKT bearing types discussed above. Open any product to check its details, or quote it together with the rest of your repair.
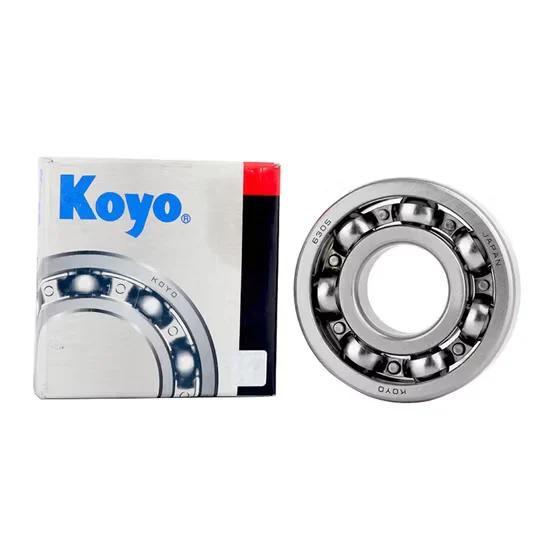
Deep Groove Ball Bearings
Genuine KOYO 6201 Deep Groove Ball Bearing Japan Brand NSK NTN NACHI THK Ezo
View Product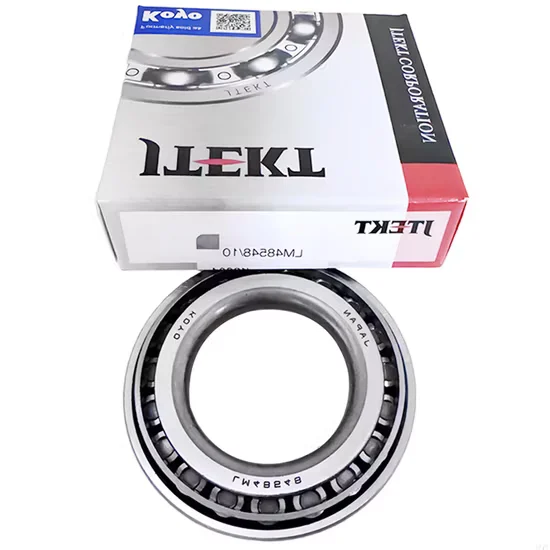
Tapered Roller Bearings
Genuine KOYO 32007 Tapered Roller Bearing Wholesale Supplier
View Product
Tapered Roller Bearings
Genuine KOYO 32006 Taper Roller Bearing Wholesale Supplier
View Product
Cylindrical Roller Bearings
Koyo NSK N408e Cylindrical Roller Bearing Genuine Wholesale Supplier
View ProductKeep reading
More bearing selection guides for repair shops
Practical guides from KOYO Bearing Supplier on identifying Koyo / JTEKT bearings for farm machinery, construction equipment and power transmission repairs.
 Installation & Maintenance
· 6 min read
Auto Bearing Jobs Workshop Checklist: Wholesale Supplier
Prevent premature auto bearing failure with a standardized auto bearing installation checklist that addresses critical storage, inspection, and mounting protocols. Verify rotational smoothness, maintain…
Read the Guide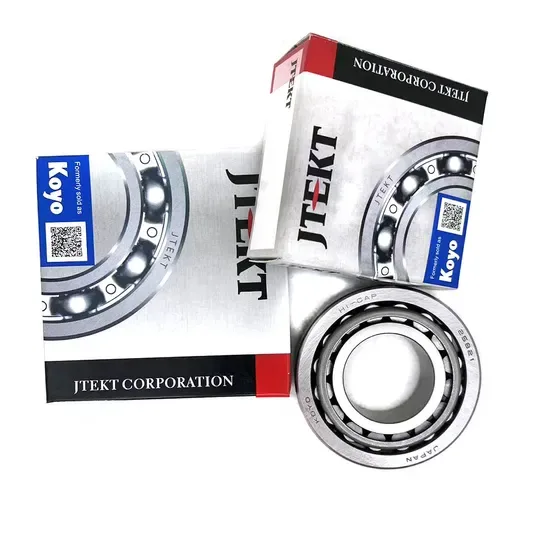 Installation & Maintenance
· 7 min read
Genuine Bearing Supplier for Garage Tools: Wholesale Bulk & MRO
Prevent premature failures with the right garage tools for bearing jobs by addressing installation errors rather than manufacturing defects. Learn systematic removal and pressing…
Read the Guide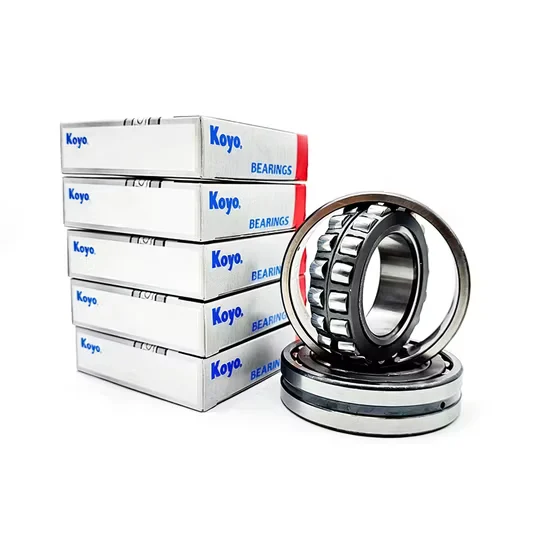 Installation & Maintenance
· 8 min read
Transmission Bearing Noise Diagnosis: Genuine Wholesale Supplier
Master transmission bearing noise diagnosis to distinguish installation errors from clearance defects in harsh environments. Use ultrasonic detection and spectral analysis to identify root…
Read the Guide
Bearing enquiry
Send your machine details. Get a written Koyo / JTEKT quote.
KOYO Bearing Supplier quotes a single bearing position or every bearing in an assembly on one enquiry, matched to your machine model and application, with model, quantity, price, lead time and quote validity in writing.
- WhatsApp+1 (702) 981-5880
- Emailinfo@koyoome.com
- Address8 Research Drive, Greenville, SC 20627, USA
"When a Koyo bearing failed on a harvest machine during the season, we needed a replacement urgently. The supplier identified the correct Koyo reference, shipped same-day, and the machine was back in the field within the day."

Request a Bearing Quote
Tell us the machine and the bearing position. Photos of the markings can follow on WhatsApp.