
Pilot Bearing Replacement Parts Wholesale Supplier
Cold-pressing a pilot bearing is the fastest way to destroy it.
The correct procedure for replacing pilot bearings requires thermal expansion of the housing or controlled heating of the bearing itself, never direct mechanical force on the outer ring. Proper alignment with the clutch spline and verification of runout are equally critical to prevent premature cage fragmentation and ensure long-term drivetrain stability.
I still remember the email from a repair shop owner in Dubai. He was furious, claiming the batch of clutch pilot bearings I supplied was made of inferior material because the cages shattered after only a few thousand kilometers. I flew out to inspect the site myself. When we pulled the transmission, the evidence was undeniable. The outer raceways were pitted with marks consistent with hammer strikes, and the internal clearance was completely gone. They had installed the units using a cold-press method without any heating, forcing the bearing into a tight interference fit. This experience reinforced a hard truth in the aftermarket: even genuine products fail if the installation protocol ignores basic thermodynamics.
Understanding why these components fail is the first step toward reducing warranty claims and improving workshop efficiency. For distributors and large-scale repair groups, providing technical guidance alongside parts is no longer optional—it is a necessity for maintaining reputation and profitability.
Why Do Pilot Bearings Fail Prematurely?
Most technicians assume that early bearing failure points to a manufacturing defect or substandard steel quality. In reality, the majority of premature failures stem from installation errors rather than material deficiencies. The pilot bearing operates in a high-stress environment, supporting the input shaft of the transmission while allowing it to rotate at different speeds from the engine crankshaft during clutch disengagement.
When a bearing is forced into place without proper preparation, the structural integrity of the cage and rollers is compromised before the vehicle even leaves the bay. The interference fit required to keep the bearing stationary in the crankshaft bore creates significant radial stress. If this stress is applied unevenly through cold mechanical force, it can micro-fracture the raceway or distort the cage geometry.
I have seen this pattern repeat across multiple regions, from heavy fleets in Latin America to independent workshops in Southeast Asia. The cost of a returned unit is not just the price of the part; it includes the labor hours for re-diagnosis, the downtime for the vehicle, and the erosion of trust between the supplier and the buyer. By shifting the focus from “which brand is best” to “how is it installed,” businesses can significantly reduce return rates.
What Tools and Preparations Are Required?
Before attempting any replacement, having the right toolkit is mandatory. Many workshops attempt to cut corners by using generic hammers or improvised drifts, which leads to inconsistent results. A professional approach requires specific instruments designed for precision work.
First, a reliable heat source is essential. This could be an induction heater, a hot plate, or an oven capable of reaching controlled temperatures. Second, precise measurement tools such as micrometers and dial indicators are needed to verify the bore diameter and check for runout after installation. Third, proper cleaning supplies are necessary to remove old grease, metal shavings, and debris from the crankshaft bore. Any contamination left behind will act as an abrasive, accelerating wear on the new bearing.
| Preparation Step | Required Tool/Method | Purpose |
|---|---|---|
| Bore Cleaning | Solvent and lint-free cloth | Remove debris and old lubricant |
| Dimensional Check | Micrometer | Verify bore size and tolerance |
| Heating | Induction heater or oven | Expand housing or bearing for fit |
| Alignment | Clutch alignment tool | Ensure concentricity with spline |
A European wind farm operator once shared how their maintenance team reduced unplanned downtime by standardizing their toolkits. They stopped allowing technicians to use makeshift tools and invested in proper induction heaters. The result was a noticeable drop in bearing-related failures across their entire fleet. This principle applies equally to automotive repair shops handling high-volume clutch replacements.
How to Correctly Heat and Install the Bearing?
The core of a successful replacement lies in the thermal fitting process. Metals expand when heated and contract when cooled. By leveraging this physical property, you can achieve a secure fit without applying destructive mechanical force.
- Clean the Bore: Thoroughly clean the crankshaft bore to ensure no debris interferes with the seating of the bearing.
- Heat the Component: Either heat the crankshaft bore slightly to expand it or heat the bearing itself to expand its outer ring. The temperature should be controlled to avoid damaging the bearing seals or altering the metallurgy of the steel.
- Insert the Bearing: Once the thermal expansion creates sufficient clearance, slide the bearing into place. It should seat smoothly with minimal resistance.
- Allow Cooling: Let the assembly cool to ambient temperature. As it cools, the metal contracts, creating a tight, uniform interference fit around the bearing outer ring.
Avoid cold-pressing at all costs. If a press must be used, it should only apply force to the inner ring, never the outer ring or cage, and even then, only if thermal methods are impossible. However, for pilot bearings, thermal fitting is the industry best practice.
I recall a heavy equipment maintenance case where improper alignment during installation led to uneven load distribution. The technician had skipped the heating step and hammered the bearing in, causing slight misalignment. This resulted in increased vibration and premature wear, forcing another teardown just months later. Such errors are easily avoidable with the right technique.
How to Verify Alignment and Final Fit?
Installation does not end when the bearing is seated. Verification is crucial to ensure that the component will perform reliably under load. Misalignment can cause the clutch disc to bind or the input shaft to wobble, leading to noise, vibration, and eventual failure.
Use a dial indicator to check the runout of the installed bearing. The deviation should be within strict tolerances specified by the vehicle manufacturer. Additionally, insert a clutch alignment tool to confirm that the bearing is concentric with the transmission input shaft spline. If the tool does not slide in smoothly, the bearing may be tilted or seated incorrectly.
After verification, apply the appropriate amount of high-temperature grease. Over-greasing is as harmful as under-greasing, as excess lubricant can attract dirt or create hydraulic lock. A thin, even layer is sufficient to protect against corrosion and reduce initial friction.
For distributors supplying these parts, including a simple checklist for verification can add significant value. It helps workshops avoid costly comebacks and reinforces the supplier’s role as a technical partner rather than just a box mover.
Conclusion
Proper installation is the key to longevity.
Replacing pilot bearings is not just about swapping parts; it is about respecting the engineering principles that govern their operation. By avoiding cold-pressing, using thermal fitting techniques, and verifying alignment, workshops can ensure reliable performance and reduce unnecessary returns. For suppliers, offering genuine products alongside clear technical guidance builds lasting trust with clients who value quality and expertise.
Mentioned in this article
Koyo / JTEKT bearings from this guide
These are the Koyo / JTEKT bearing types discussed above. Open any product to check its details, or quote it together with the rest of your repair.
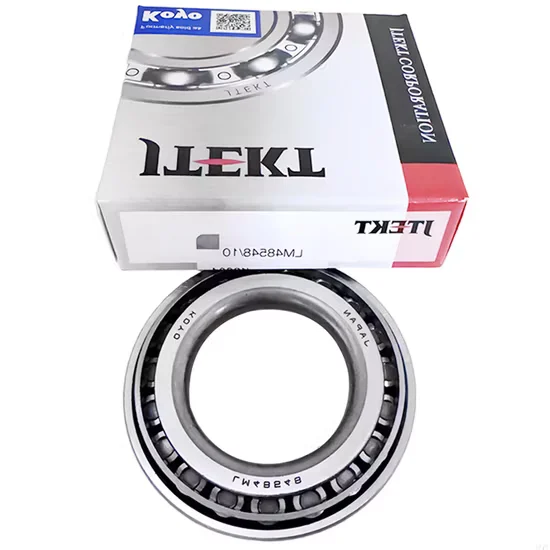
Tapered Roller Bearings
Genuine KOYO 32007 Tapered Roller Bearing Wholesale Supplier
View Product
Tapered Roller Bearings
Genuine KOYO 32006 Taper Roller Bearing Wholesale Supplier
View Product
Cylindrical Roller Bearings
Koyo NSK N408e Cylindrical Roller Bearing Genuine Wholesale Supplier
View Product
Cylindrical Roller Bearings
Koyo N2305e Cylindrical Roller Bearing Genuine Wholesale Supplier
View ProductKeep reading
More bearing selection guides for repair shops
Practical guides from KOYO Bearing Supplier on identifying Koyo / JTEKT bearings for farm machinery, construction equipment and power transmission repairs.
 Installation & Maintenance
· 6 min read
Auto Bearing Jobs Workshop Checklist: Wholesale Supplier
Prevent premature auto bearing failure with a standardized auto bearing installation checklist that addresses critical storage, inspection, and mounting protocols. Verify rotational smoothness, maintain…
Read the Guide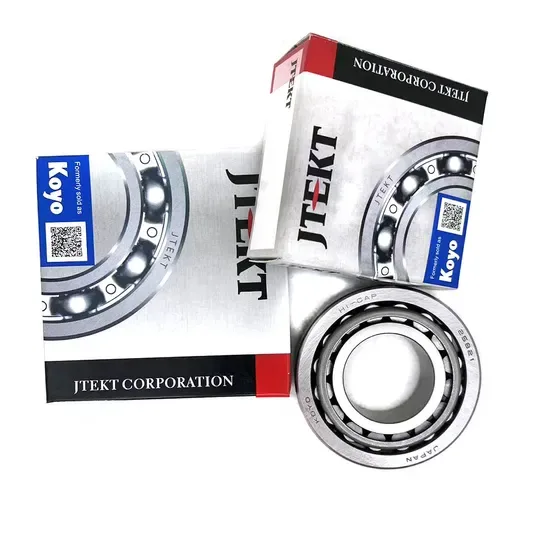 Installation & Maintenance
· 6 min read
Genuine Bearing Supplier for Garage Tools: Wholesale Bulk & MRO
Prevent premature failures with the right garage tools for bearing jobs by addressing installation errors rather than manufacturing defects. Learn systematic removal and pressing…
Read the Guide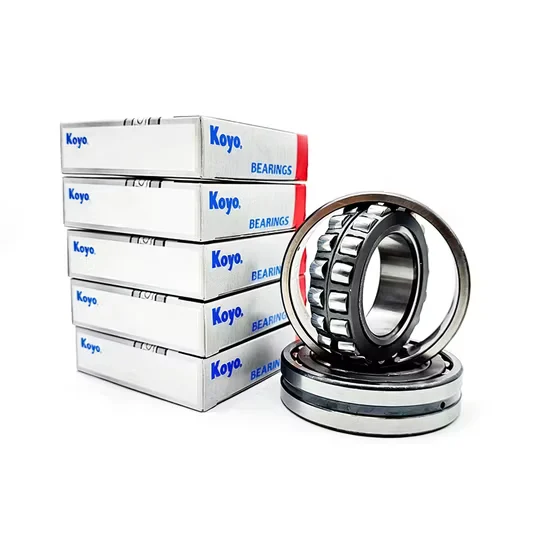 Installation & Maintenance
· 8 min read
Transmission Bearing Noise Diagnosis: Genuine Wholesale Supplier
Master transmission bearing noise diagnosis to distinguish installation errors from clearance defects in harsh environments. Use ultrasonic detection and spectral analysis to identify root…
Read the Guide
Bearing enquiry
Send your machine details. Get a written Koyo / JTEKT quote.
KOYO Bearing Supplier quotes a single bearing position or every bearing in an assembly on one enquiry, matched to your machine model and application, with model, quantity, price, lead time and quote validity in writing.
- WhatsApp+1 (702) 981-5880
- Emailinfo@koyoome.com
- Address8 Research Drive, Greenville, SC 20627, USA
"When a Koyo bearing failed on a harvest machine during the season, we needed a replacement urgently. The supplier identified the correct Koyo reference, shipped same-day, and the machine was back in the field within the day."

Request a Bearing Quote
Tell us the machine and the bearing position. Photos of the markings can follow on WhatsApp.